Digitizing a Paper Pattern to PDF-file, a tutorial

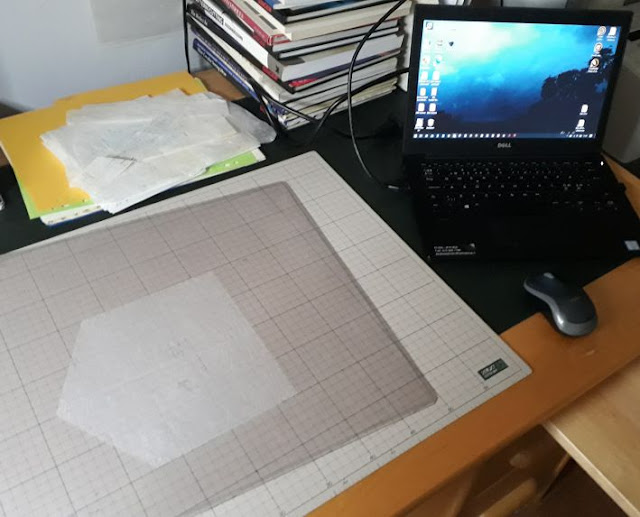
1. Spread a piece of the paper pattern on your cutting mat. I've used a transparent desk pad to flatten the piece and to keep it in place. - choose one of the smaller pieces of your pattern to work on first; it will be used to check that the digitized file, using a PDF-reader (e.g. Acrobat or Xodo) will be displayed in the right size 2. Turn on your projector and computer. In this tutorial I use ceiling setup for the projector and a Windows 10 computer. Casting method is Duplicate Displays. 3. Open Inkscape. I prefer, with a mouse, to point the icon on the projected image to pointing it on the computer screen. That will be the case in the following pictures, too. - for this tutorial I've used version 0.92.4 4. Open "View"-menu. 5. Choose the work view option "Wide". I recommend this option as it gives a bit more depth to the projected image. In case the pattern piece is just a bit too big to fit in the work window there are still some way...